DIY Plant Press
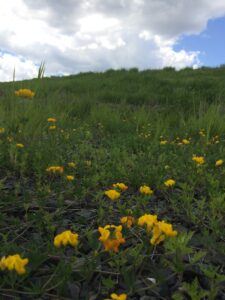
Birdsfoot Trefoil
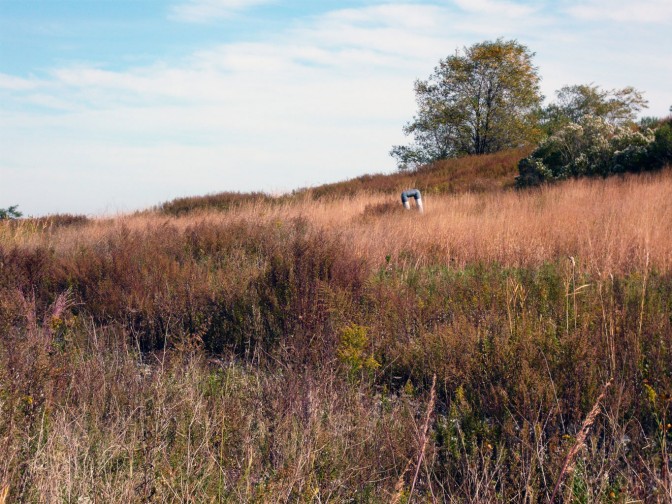
They say that April showers bring May flowers, and that’s certainly on full display during walks through the park in late spring and early summer. Nature is bursting with colorful flowers, sweet smells, and new leaves. At Freshkills Park, the grasslands are full of purple Cow Vetch, yellow Birdsfoot Trefoil, blue-green Little Bluestem. A traditional way to preserve the bright colors and aromas of this time of year is through pressing flowers. Pressed plants beautifully preserve their shape, color and even their smell. Artists use pressed plants in paintings, collages, and sculptures, while botanists use plant presses to identify and study plant species.
Botanists collect and analyze dried plant samples in herbariums, or collections of dried plants. When collecting your plant, pause to observe. Where is the plant? How tall is it? What colors and features do you notice? Collect your specimen in a bag with a wet paper towel to preserve it until pressing. Once dried, use a field guide to identify the various parts of the plant. This reference will help you identify the different parts of your flower. Think about making a scrapbook out of your dried and labeled plants, or use dried flowers to decorate a box or bookmark.
Traditional plant presses include wood, screws, and blotting paper, but you can make a simpler version at home using corrugated cardboard, newspaper or magazines, and strong rubber bands.
Homemade Plant Press
- Collect plants. Go on a nature walk and collect flowers, leaves, or other plants in a bag with a wet paper towel or rag. Make sure to note where and when you collected each sample. Note that it is illegal to pick flowers or harm plants inside New York City parks. Instead, look to pick plants that have already fallen, or pick with permission from a private garden.
- Remove any dirt or dead leaves from the plant.
- Cut 8 pieces of corrugated cardboard and 8 pieces of newspaper or magazine paper to roughly the same size, big enough to fit your plant. Gather 2 strong rubber bands.
- Create the plant press by layering cardboard and newspaper. After 4 sheets, insert your plant, then layer the rest of the cardboard and newspaper. Make sure the plant is surrounded by newspaper on both sides. The plant should not directly touch the cardboard, which can leave marks. The newspaper absorbs moisture, while the corrugated cardboard provides airflow.
- Wrap the plant press tightly with the rubber bands.
- Label the plant press with the date, the name of the plant, and location where the specimen was collected.
- Wait 1-3 weeks for the plant to dry, depending on the size. You can place heavy books on top of the plant press to improve effectiveness.
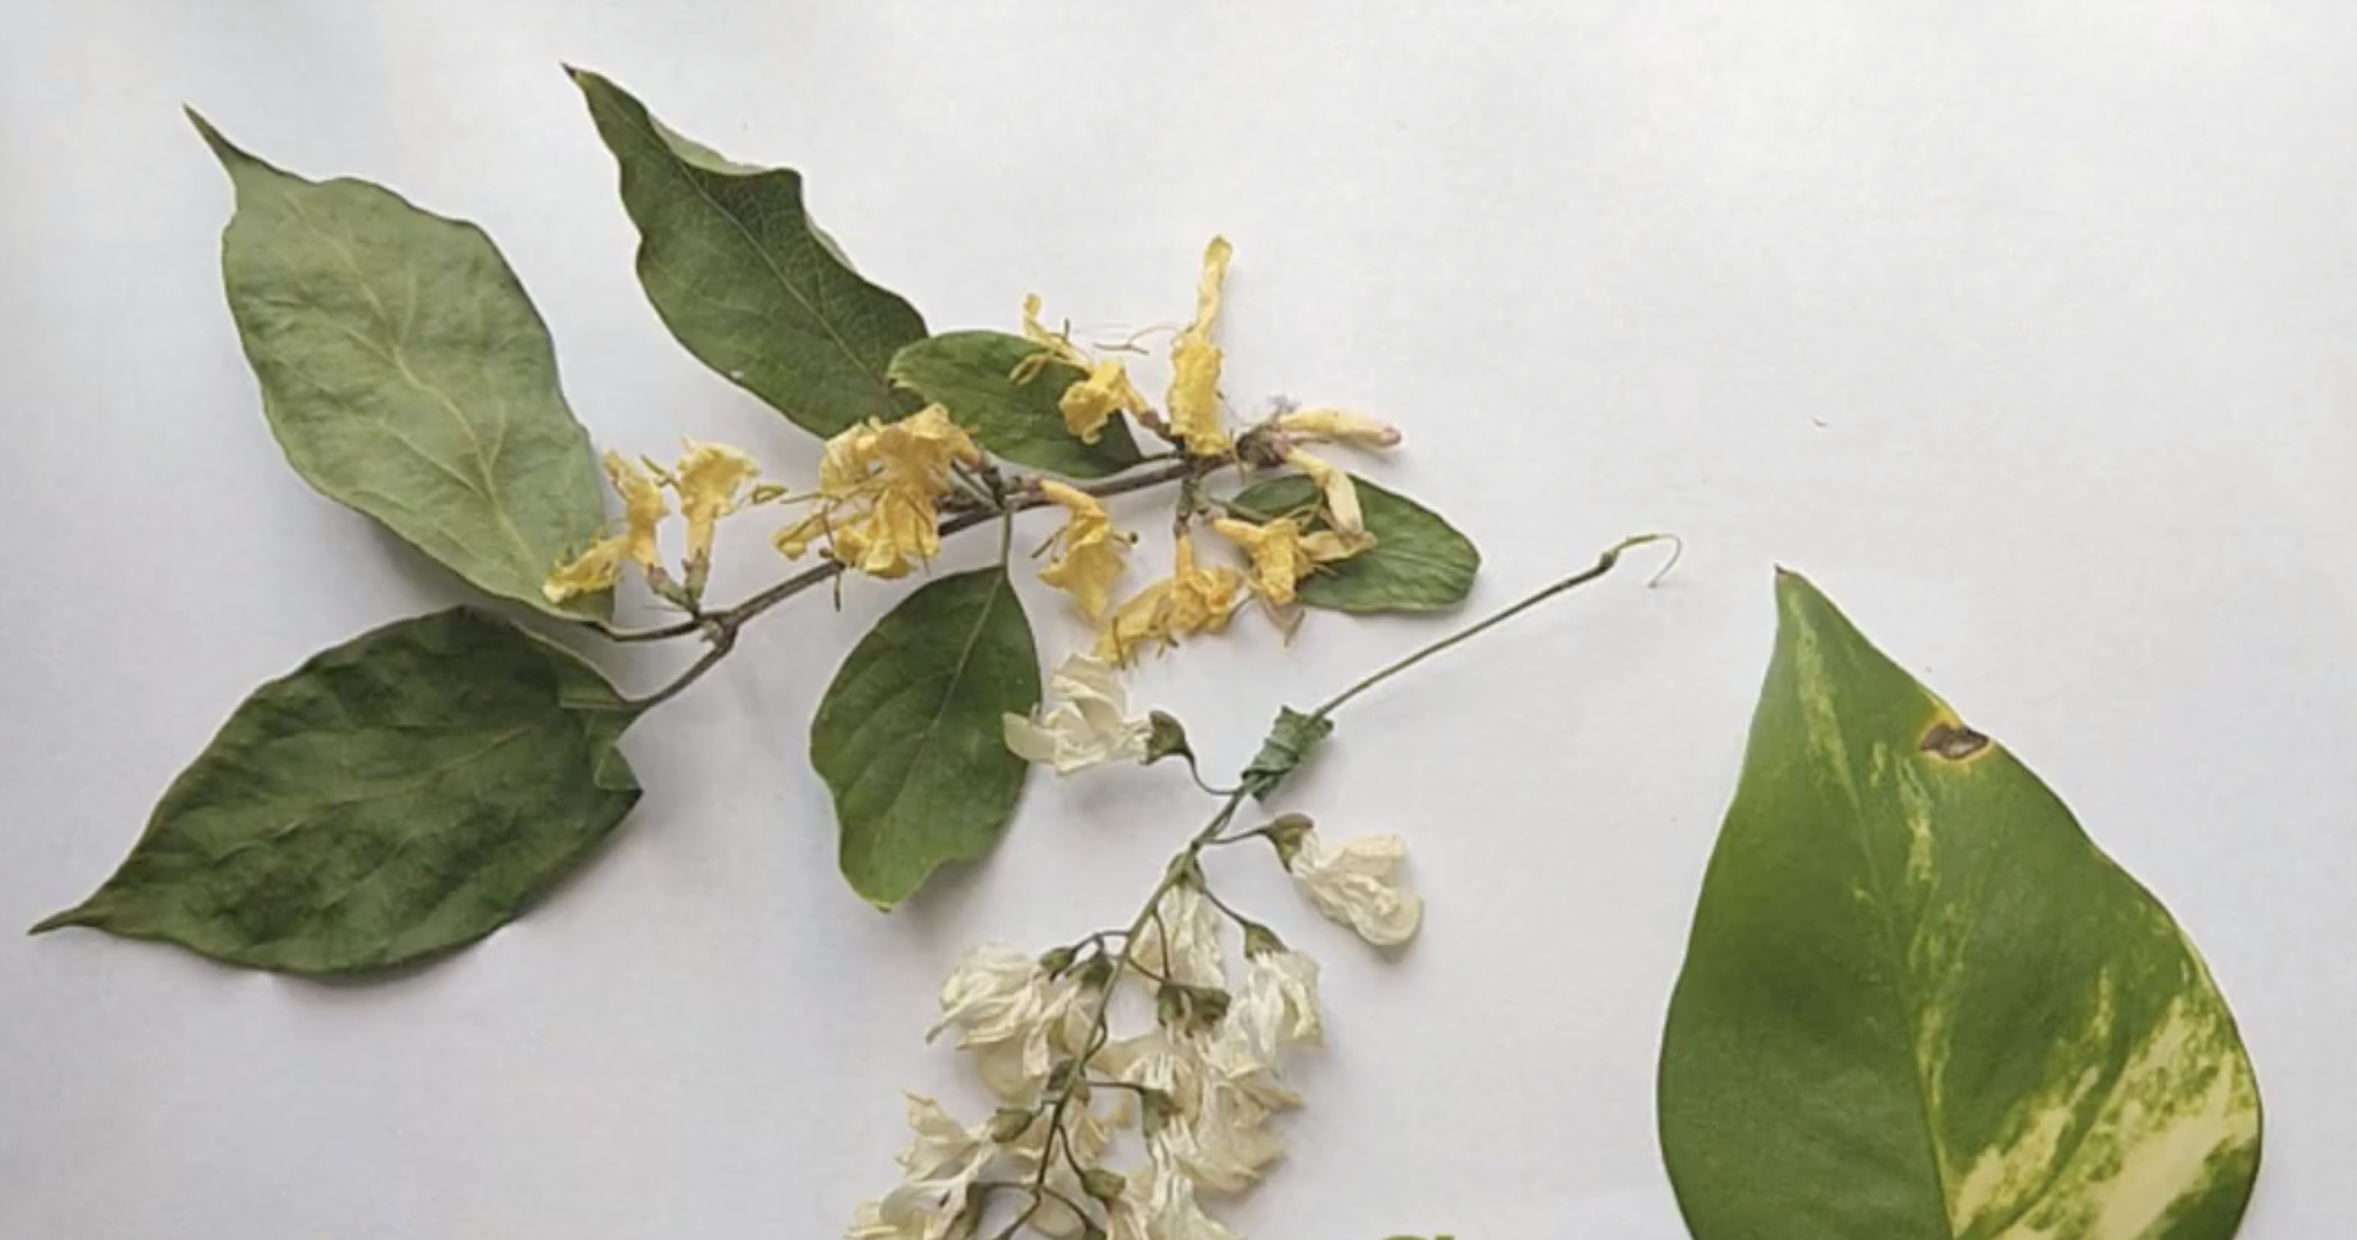
- Remove from the plant press. You can use a field guide to measure and label different parts of the plant to start your own herbarium or use dried plants to decorate.